
Preface
To use SSH from Windows typically requires installing programs that come with an implementation of SSH, such as: Git for Windows, Cygwin, etc. While useful, these options may be overkill for the simple need to use the ssh command. Luckily Windows has added a native OpenSSH Client to Windows 10 as an Optional Feature.
About
This guide covers how to enable the OpenSSH Client on Windows 10.
Steps
Enable OpenSSH Client in Windows
To use the ssh command natively in Windows Terminal, PowerShell, and Command Prompt (CMD); it is necessary to install the Windows OpenSSH Client via the Optional Features menu, and then add the OpenSSH folder to the Path environment variable.
Install OpenSSH Client
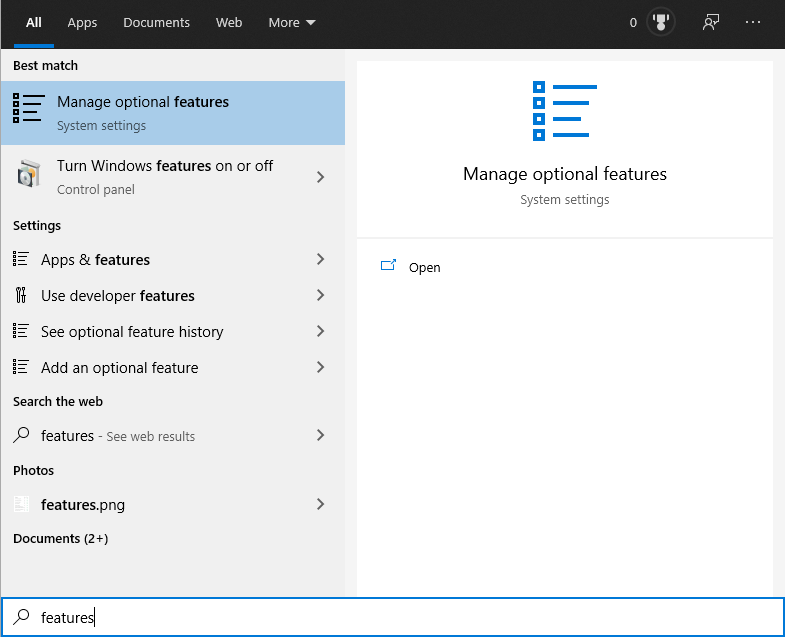
1. Search for “optional features” on the Start Menu and select “Manage optional features“:
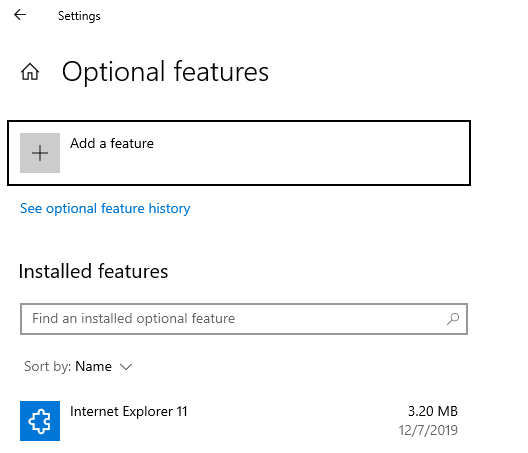
2. Click on the “Add a feature” button:
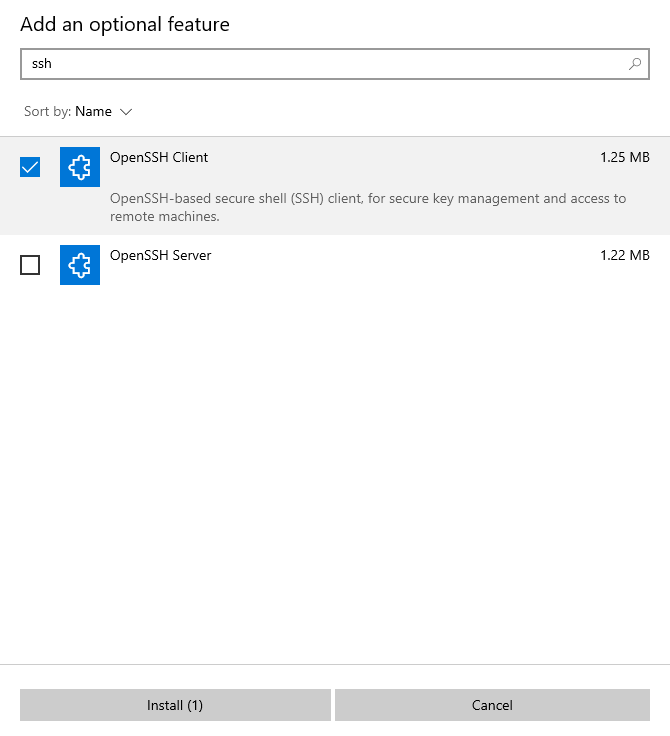
3. Search for “SSH“, select the “OpenSSH Client” checkbox, and click the “Install” button:
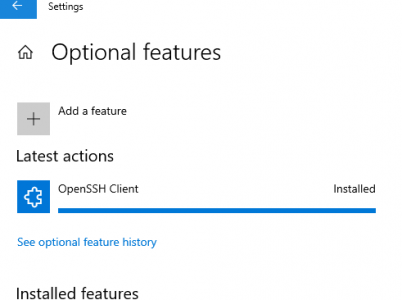
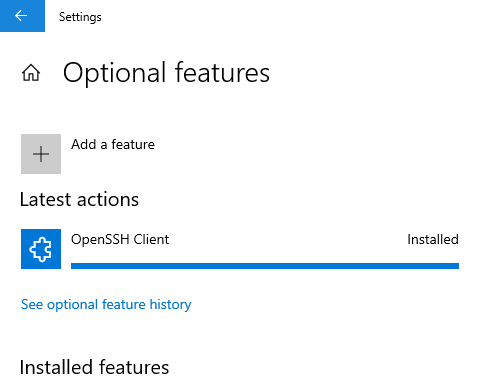
4. Wait for installation to complete:
Add OpenSSH to Path
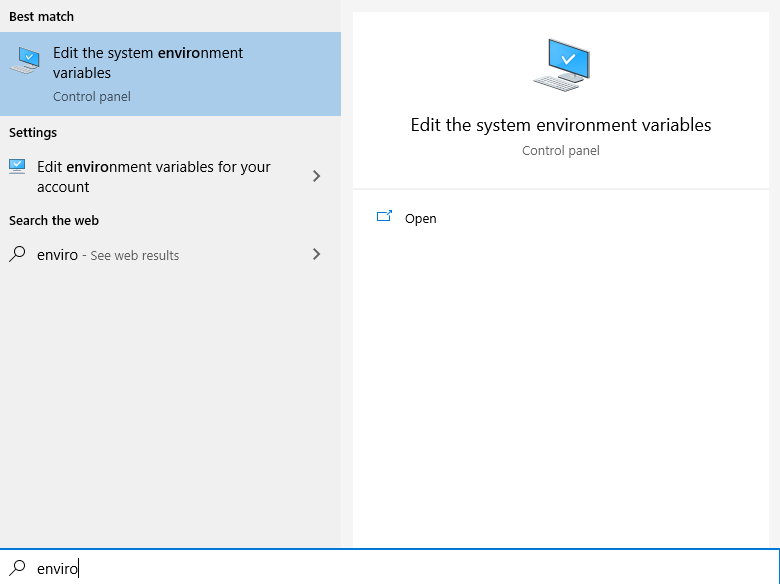
1. Search the Start Menu for “environment variables“, and select the “Edit the system environment variables” option:
2. Click on the “Environment Variables…” button on the “Advanced” tab of the “System Properties” window:

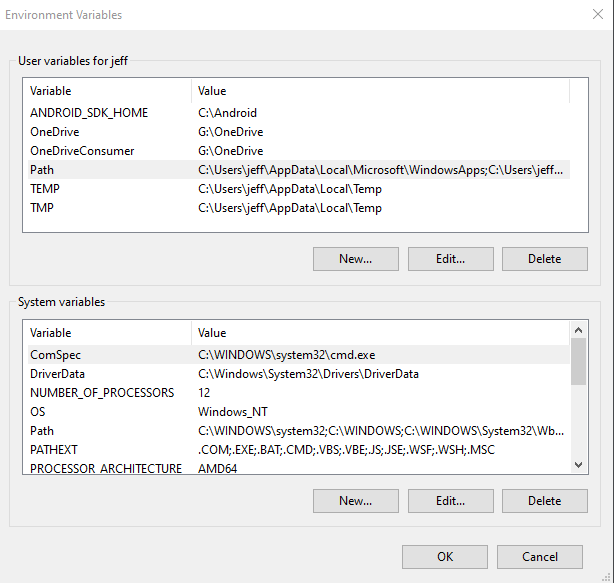
3. Under the “user variables for <user>” section (where <user> is your username), click on the “Path” variable to select it, and then click on the “Edit…” button:
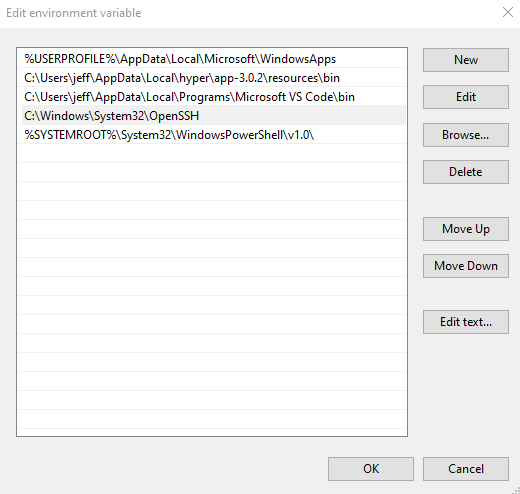
4. On the “Edit environment variable” window, click the “New” button, and then type or paste in the value:
C:\Windows\System32\OpenSSH
5. Click the “OK” button on each screen to save the changes.
6. Reboot the machine to ensure changes have taken effect.