

Preface
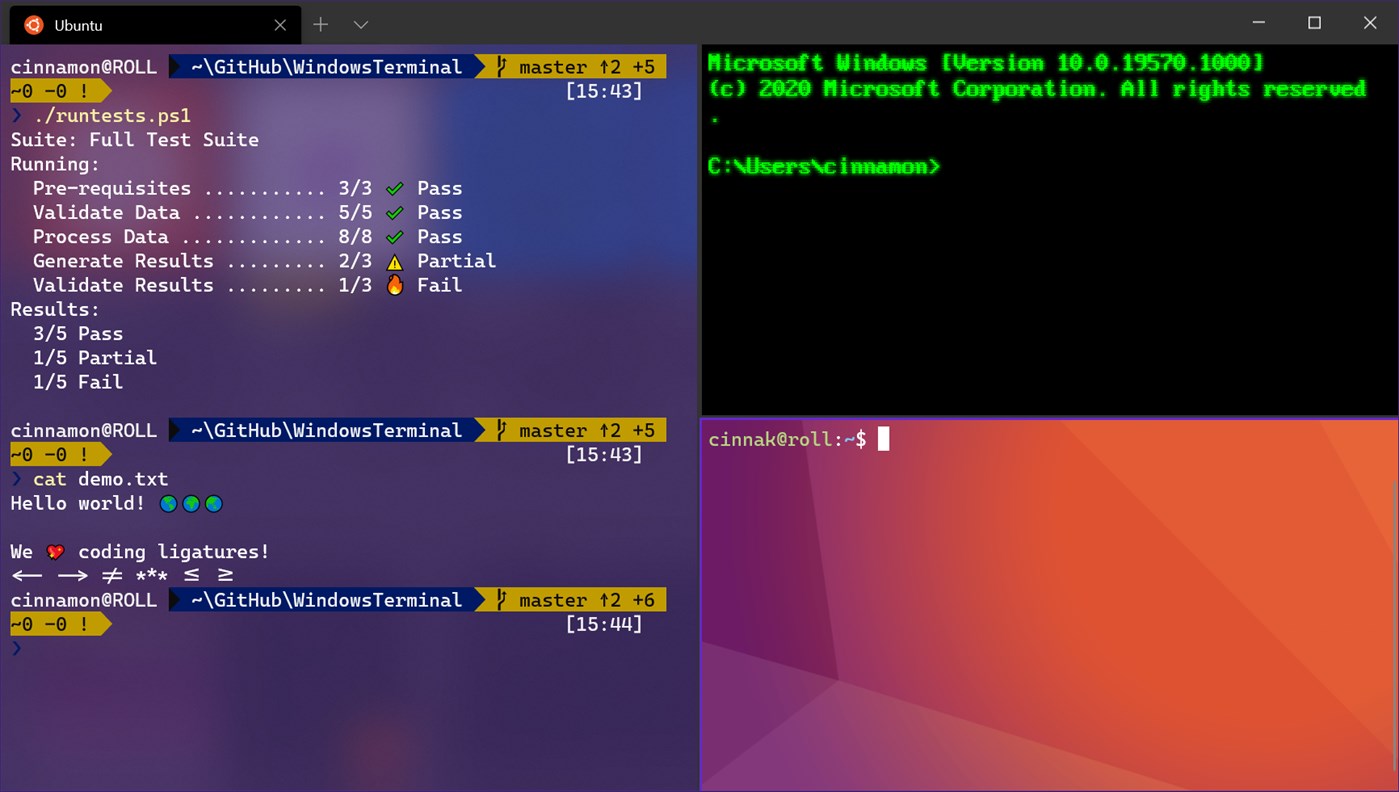
The new Windows Terminal is finally reaching parity with modern options on other operating systems like iTerm 2, Tiliux, GNOME Terminal, etc. Not only is it free, but in my opinion it beats other terminal options on Windows, such as: PuTTY/KiTTY, mRemoteNG, MobaXTerm, Terminus, Hyper, etc.
Because Windows Terminal is so new, not everything is configured yet to take advantage of it out of the box. One of my favorite pieces of software for remote management using SFTP, WinSCP, is one such program.
By default WinSCP uses good ol’ PuTTY as a terminal, which can be launched during remote SFTP sessions with the click of a button. It supports the option to use KiTTY and even Windows’ OpenSSH Client instead, but no information has yet surfaced about how to use Windows Terminal …until now!
About
This guide will cover how to enable the new Windows Terminal as the default “PuTTY Integration” option in WinSCP.
Steps
Install Windows Terminal
First, you need to install Windows Terminal. That can be done by either:
- Installing from Assets portion of the Releases page of the Windows Terminal GitHub repository.
- Installing from the Microsoft Store.
Enable OpenSSH Client in Windows
If you don’t already have the OpenSSH Client enabled in Windows, please follow my guide here:
Create a Windows Terminal Shortcut Link
Windows Terminal exists as a symbolic link at %LOCALAPPDATA%\Microsoft\WindowsApps\wt.exe, for various reasons it cannot be accessed directly (believe me, I tried).
For our purposes, we must create a shortcut (.lnk) file of the Windows Terminal exe file:
1. Right-click the Desktop and select New -> Shortcut:

2. On the Create Shortcut window type or paste in this value for “Type the location of the item:“, and click the “Next” button:
%LOCALAPPDATA%\Microsoft\WindowsApps\wt.exe

3. Type or paste in this value for “Type a name for this shortcut:“, and then click the “Finish” button:
wt.exe

Note: In my case, I just made a link on my Desktop, but you may place it anywhere you’d like (just update the next steps accordingly).
Set Windows Terminal as the PuTTY/Terminal Client
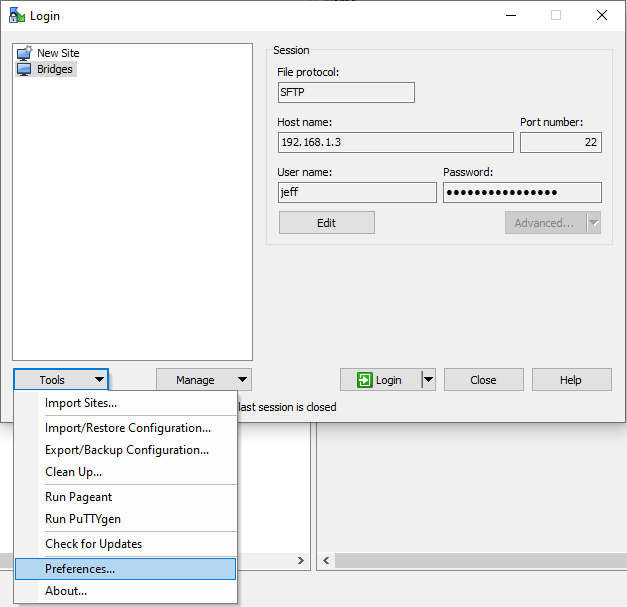
1. Open WinSCP, and on the Login prompt, click the “Tools” button in the bottom left, and then click the “Preferences…” button:
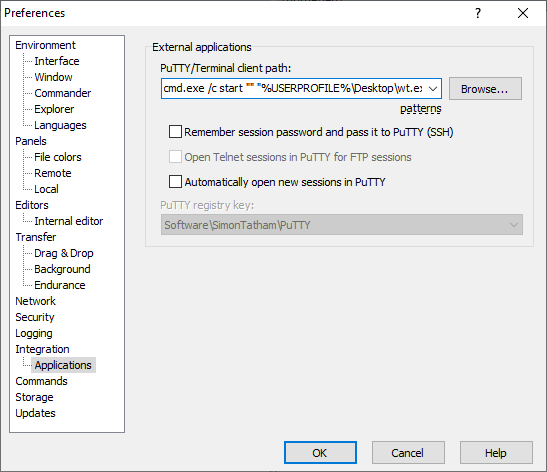
2. On the Preferences window, click on “Applications“. Under the “External applications” section type or paste in the following value for “PuTTY/Terminal client path:“, and click the “OK” button :
cmd.exe /c start "" "%USERPROFILE%\Desktop\wt.exe.lnk" --title "!N" ssh !U@!@ -p !#
The cmd.exe call is necessary because wt.exe cannot be called directly or by the shortcut we made.
The --title parameter with "!N" will set the title of Windows Terminal to match the current session name in WinSCP.
The ssh !U@!@ -p !# portion will send the ssh command to Windows Terminal with the current session’s <username>@<hostname> -p <port> from WinSCP.
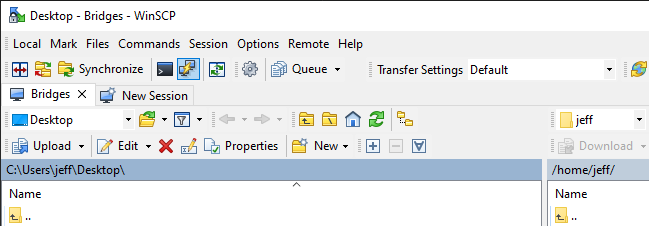
Use Windows Terminal with WinSCP
Now that you’ve completed all necessary steps, it’s time to test if it works.
1. On the Login prompt, select a host to connect to; and once connected, click on the “Open Session in PuTTY” button (or press Ctrl+P):
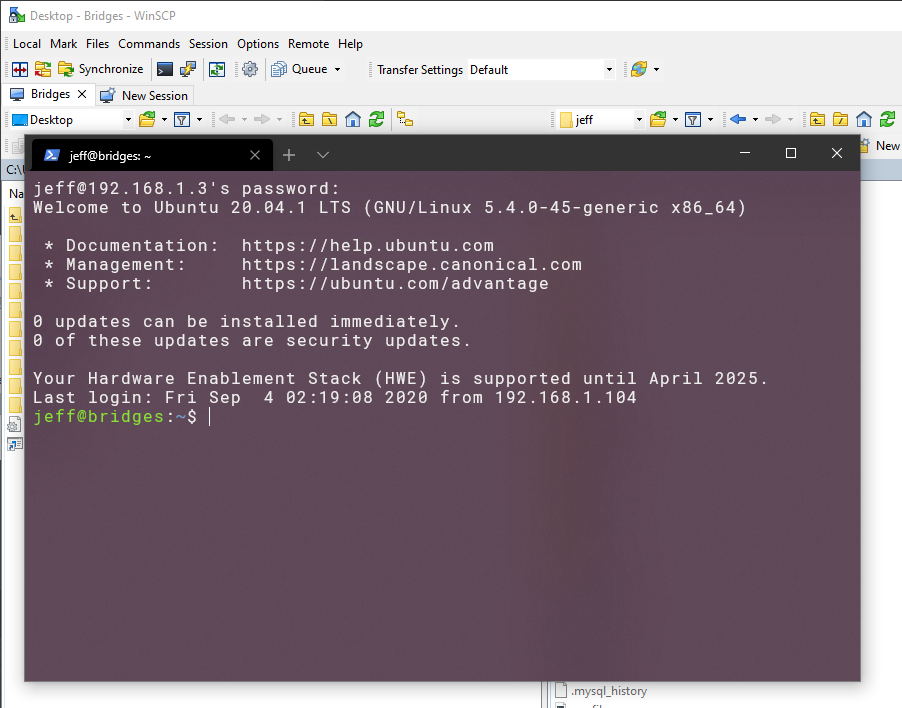
2. A Windows Terminal should open up and prompt for the password to the connection:
[Optional] Add SSH Public Key to Remote Host
If you would prefer to not have to type your password every time you connect, you can create an SSH key on Windows, and upload the public SSH key to the ~/.ssh/authorized_keys file on the remote host.
There are many tutorials out there on “how to generate an SSH key on Windows”. I recommend searching for an article or video if you haven’t done it before.
The easiest method I know of for beginners is to use PuTTY’s key generator. Digital Ocean has a pretty decent guide here: